Apple MAC Email Configuration
Step 1
Open Finder and launch the Mail application.
Step 2
Click the Mail menu and select Preferences.

Step 3
Click the Accounts icon at the top of the window and then click the plus sign (+) at the bottom-left of the window to add an account. 
Click Accounts and then the plus sign
Step 4
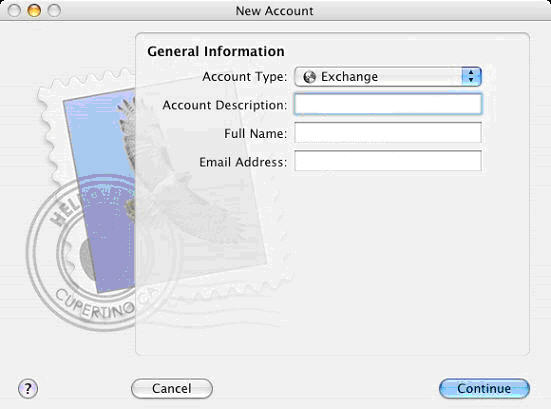
Enter your Full Name, Email Address and Password. When finished, click the Continue button.
Step 5
From the Account Type drop-down menu, select POP.
Step 5
From the Account Type drop-down menu, select POP.
Step 6
- Enter a Description to differentiate the POP server from others you may have added to Mac Mail. You can use your domain name (domain.co.zw) or your new email address.
- Enter mail.yourdomain.com as the Incoming Mail Server
- Enter your full email address as the User Name.
- Enter the e-mail account's Password.

Enter the required information and click Continue
Step 7
- Enter a Description to differentiate the SMTP server from others you may have added to Mac Mail. You can use your domain name (domain.co.zw) or your new email address.
- Enter mail.yourdomain.com as the Outgoing Mail Server
- Check the box for Use Authentication
- Enter your full e-mail address as the User Name
- Enter the e-mail account's Password.
- Click the Continue button when finished.

Step 8
Review the information entered on the the Account Summary page. If all information is correct, check the box for Take account online and click the Create button.
Step 9
Close the Accounts window.
Close the Accounts window.
Step 10
Your mail should be downloaded and displayed in the Mail window.
